In an increasingly connected world where interpersonal relationships and business contacts are the key to success, the effective management of invitations to events and meetings has become invaluable. Whether in a private sphere or in a business context, the way we plan, organize and manage invitations can have a decisive influence on how we build, maintain and grow relationships. In this blog post, we delve deep into the world of invitation management, examine proven strategies and techniques to streamline this process, and reveal valuable insights into how thoughtful invitation management can lead to remarkable results on both a personal and professional level. Whether you're planning a social event or building business partnerships, mastering invitation management is the first step toward more successful relationships and more meaningful events. ONevents offers the right tool for invitations, we'll show you exactly how it works here.
Prepare event for invitation management #
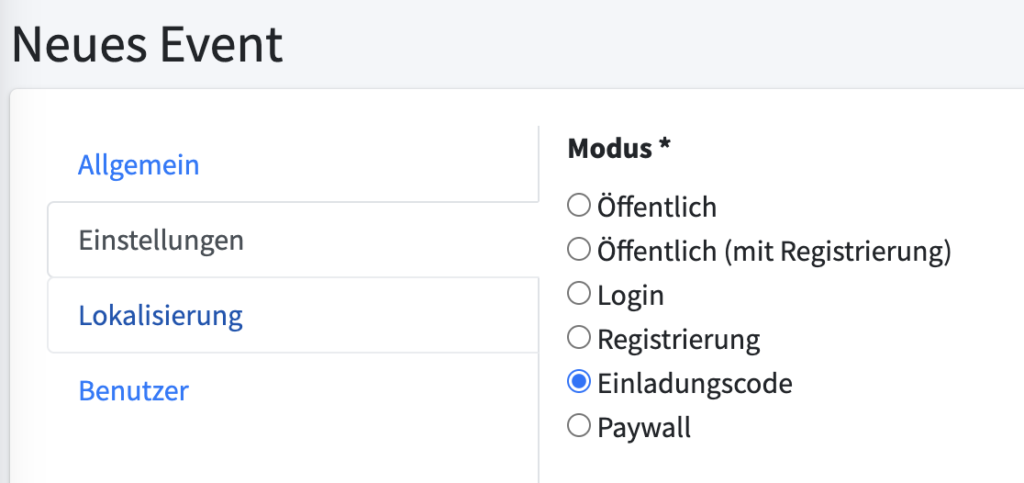
The first step is to create a new event. Here a new event is created in Central and the “Invitation code” mode is selected in “Settings”. This means you will always be redirected to the correct homepage.
After an event has been created, the guests can also be imported. To do this, the event must be opened and the users uploaded directly to the event.
Create user #
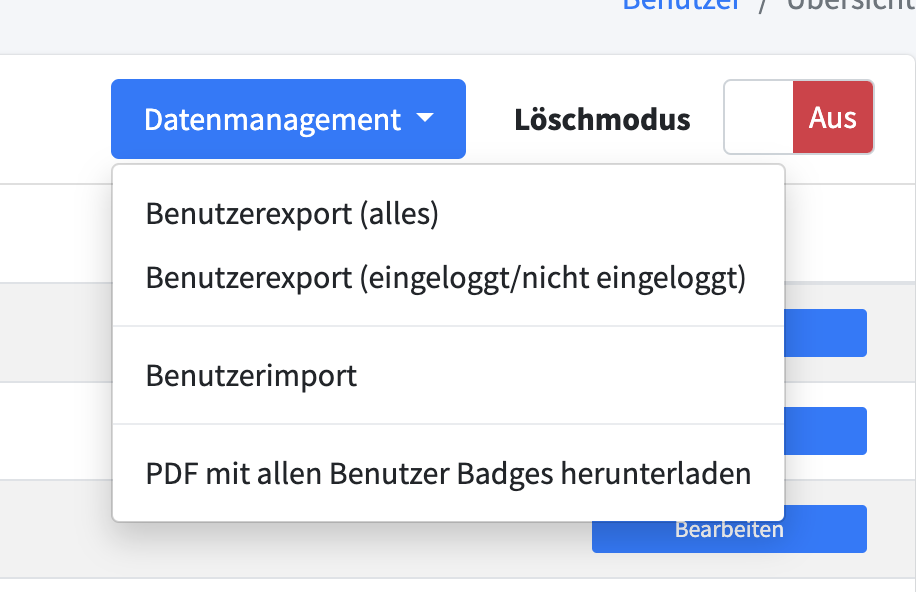
Users can be created using the user import. You can find more information about this HERE.
Set up invitation management #
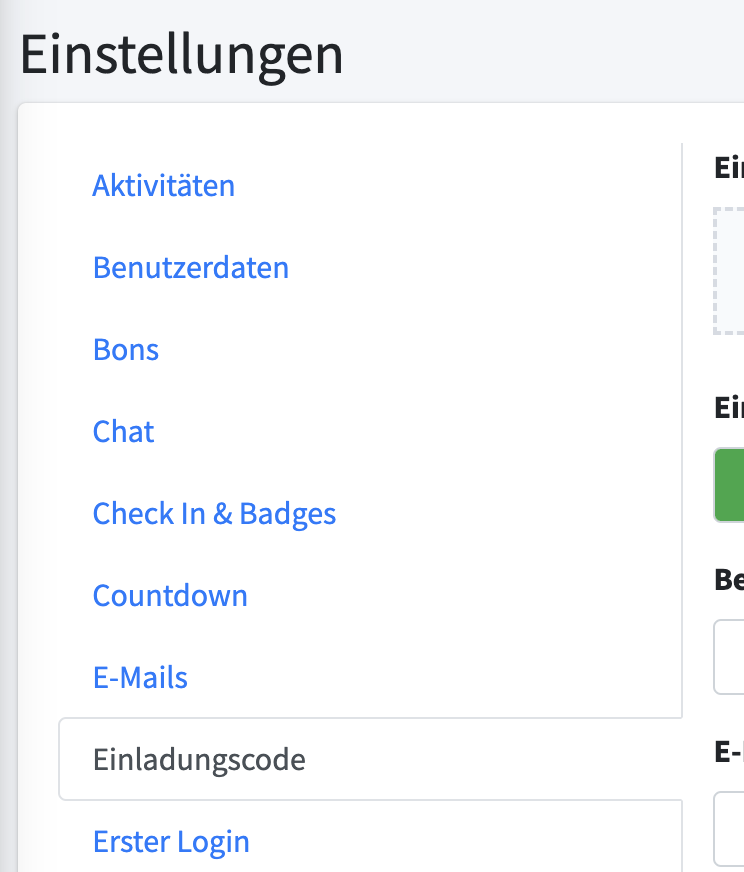
After importing the people to be invited, invitation management can be set up. The “Invitation Code” tab in the “Settings” menu item is used here.
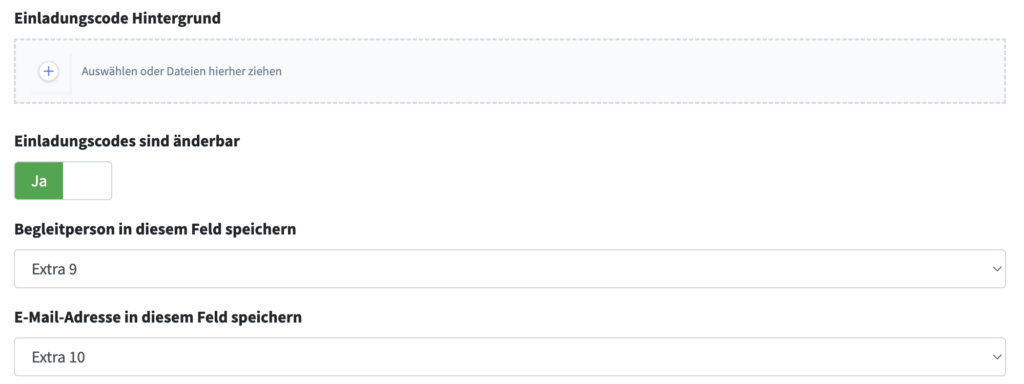
Basic settings for background image and data storage can be adjusted in the first fields. It is recommended to use the default settings. The background can be customized.
The tabs at the bottom display the views of the various invitation management statuses. All available placeholders can also be used here.

Welcome text #
This is the home page when the event is accessed. Two placeholders can be used here.
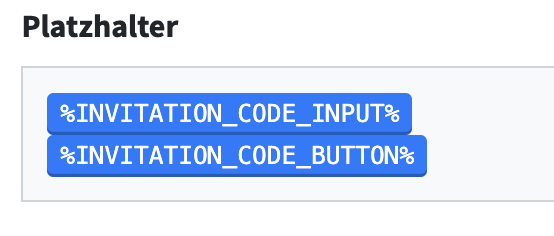
If a printed invitation is sent, you can generate invitation codes that are linked to users. Invitation management can be started with these codes.
RSVP text #
The guest's feedback is recorded in this status. Here the guest can choose whether to attend an event, stay away or appear with an accompanying person. The ability to check all user data again helps to further improve the invitation process.
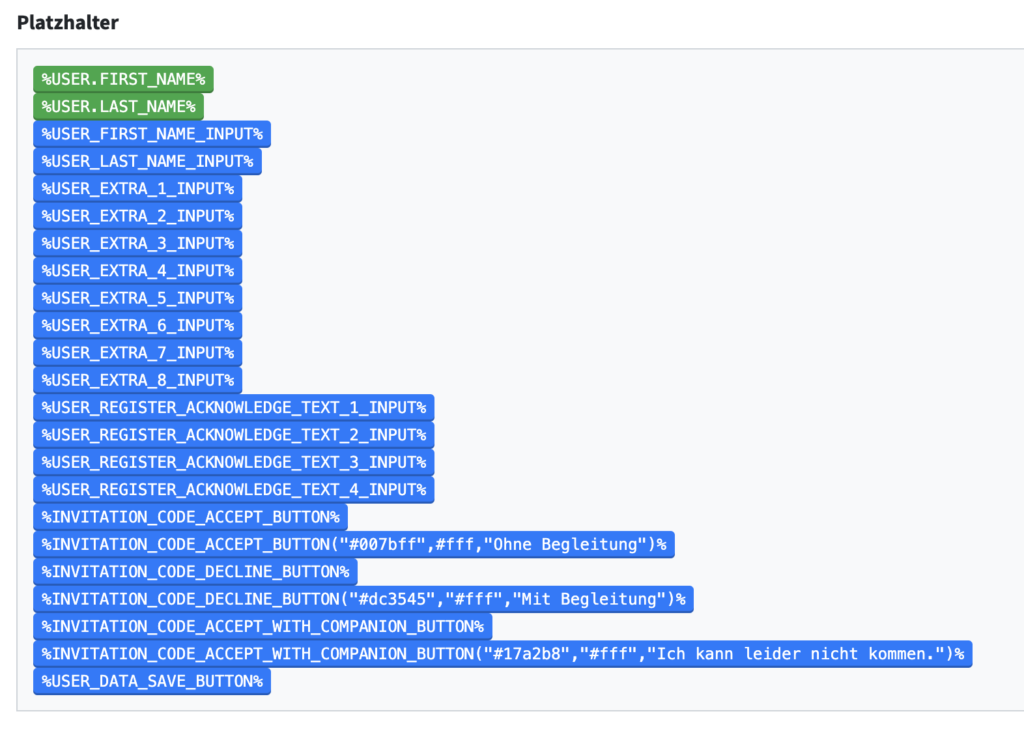
Confirmation text #
The final page of the invitation process when selecting unaccompanied.
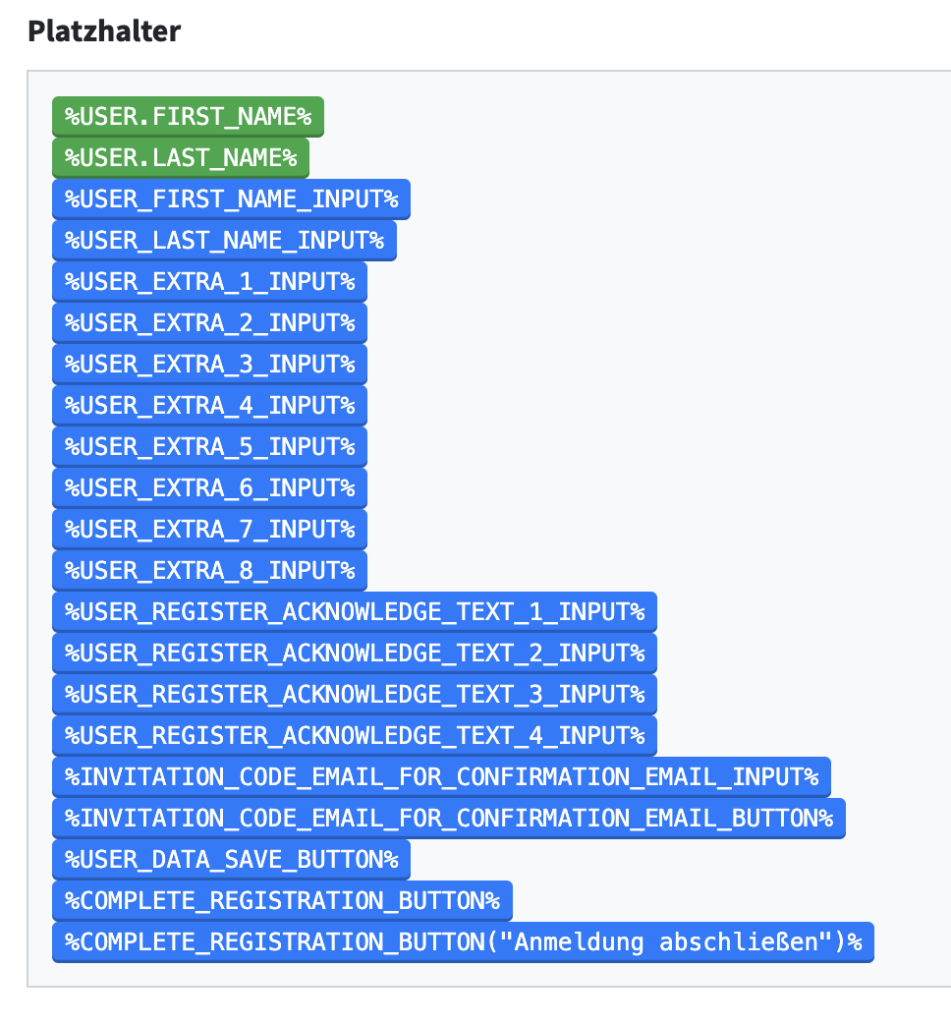
A special selection of placeholders is also offered here.
Cancellation text #
The final page of the invitation process when selecting “Unfortunately I can’t come”.
Not found text #
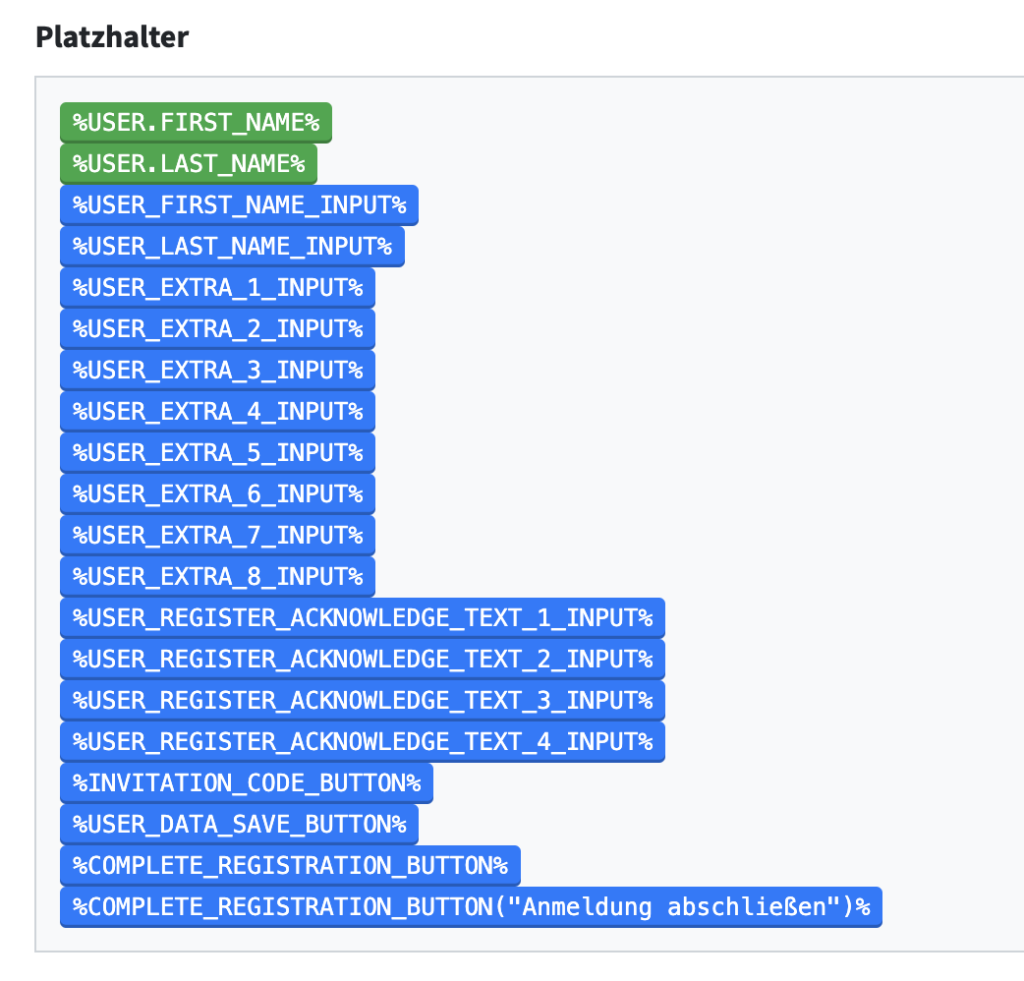
This page is displayed if an incorrect invitation code is used.

Here you have the option of restarting the process with a placeholder.
Companion text #
The final page of the invitation process when selecting “with accompaniment”.
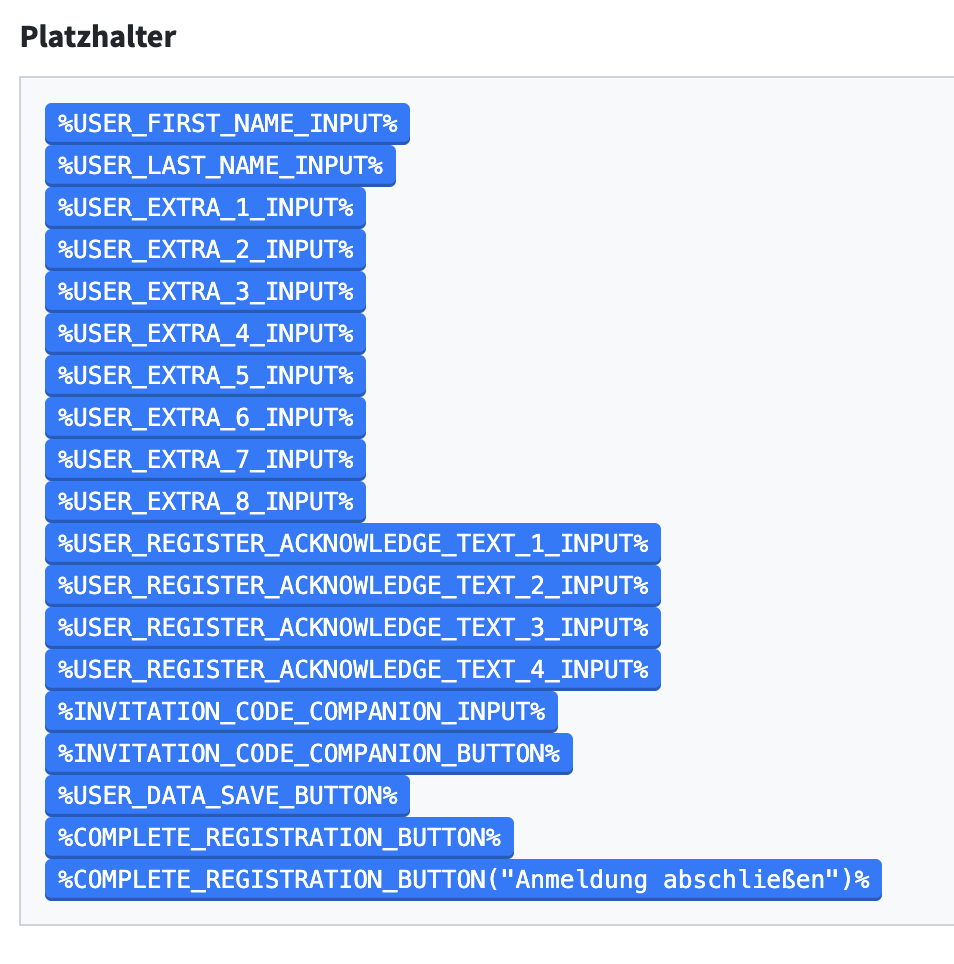
The placeholders have been expanded to include the accompanying person's input option.
Conclusion text #
The final page of the invitation process when the process has been completed.
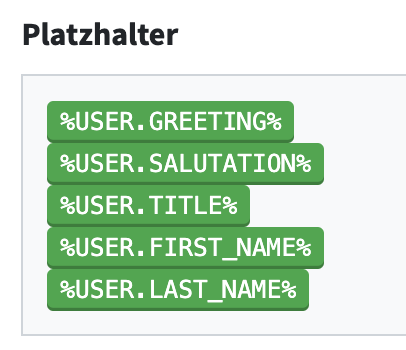
The invitation process can be completed with placeholders for personal salutation.
Emails in process #
It is possible to support the invitation process with emails. “Events” are used in an email for this purpose.
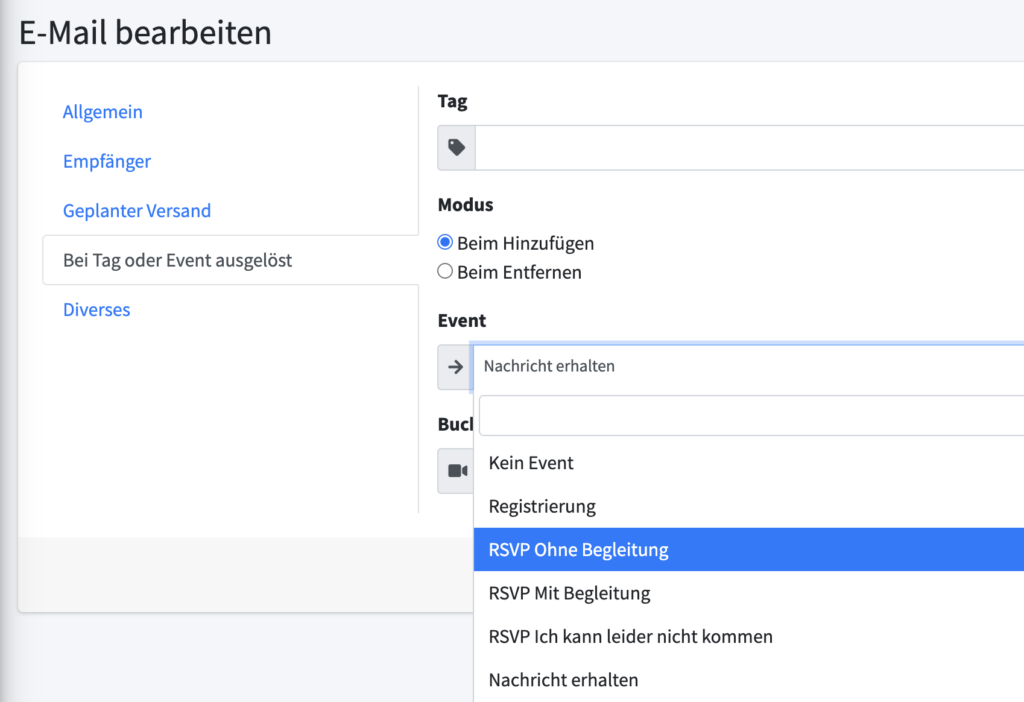
If you create a new email, an event from the RSVP module can be used as a trigger event. This means that different emails can be sent for different statuses.


