The sponsorship area at a digital event plays a central role in creating a successful and symbiotic partnership between organizers and sponsors. In an increasingly digitalized world, this area offers a unique platform for companies to increase their brand awareness, reach targeted audiences and present their products or services to a wide audience. Through a clever integration of sponsor content, logos and interactive elements, the digital sponsor area not only creates a visual presence, but also enables direct interaction between sponsors and participants. This area acts as a virtual showcase where sponsors can effectively communicate their messages, whether through personalized banners, video ads or interactive exhibition stands. In this way, the sponsorship section helps ensure financial support for the event while creating added value for participants by presenting them with relevant information and innovative offers.
Load sponsor bucket #

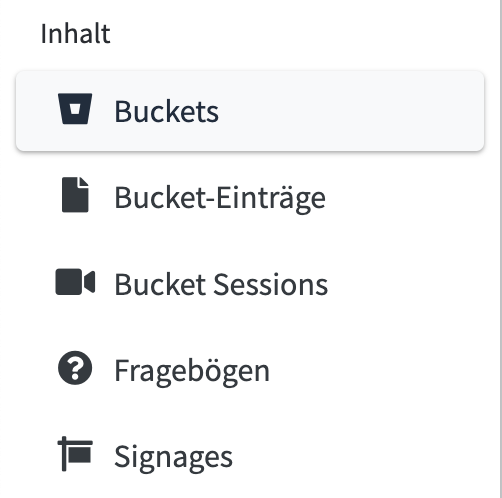
Klicke bei Inhalt>>Buckets den Button „Vorlage laden“ und schon kannst du verschiedene Buckets laden. Wähle den Bucket „Sponsor“ aus und klicke auf „Vorlage laden“. So wird sofort ein neuer Bucket „Sponsor“ angelegt. Dieser kann nun mit Inhalten, Items befüllt werden.

Create sponsors #
So that each sponsor has their own area, it is important to create their own item for each sponsor and assign it to them. You do this in the “Bucket Items” menu item. You can create new bucket entries in the “Sponsor” tab.

When creating, the first attribute is “User”. The owner, the person who is allowed to manage and edit the entry, is entered here. This person must already be created as an editor.

When the sponsor bucket was created, all attributes were also created. These can now be filled.

Show sponsors on stage #
In order to display the created sponsors on a stage, the template for “sponsor area” must be loaded in the control room. Simply select an available stage and load the template. Please note that the type must be set to “HTML (2)” for everything to be displayed correctly.


